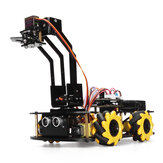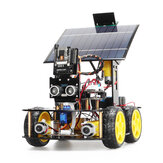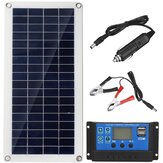
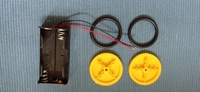
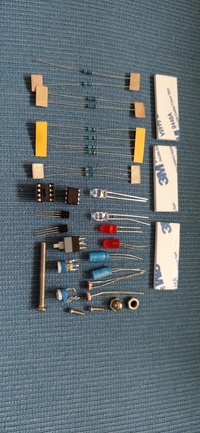
Kit de voiture robot intelligente de suivi de ligne avec moteur de réduction à bricoler
8,45€
Une partie de la critique a été traduite automatiquement.

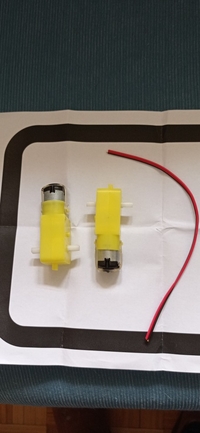
Este es una versión nueva o algo asi supongo la placa es azul el soporte de pilas es AAA y los LDR no tienen el capuchón negro, es facil de montar sobre todo si quieres practicar la soldaduras, importante respetar la polaridad de los motores, el punto de soldadura que esta al lado de las letras M1 y M2 es el positivo. Por ultimo si solo gira en un sentido tenéis que ajustar los pontenciometros azules que están al lado del interruptor


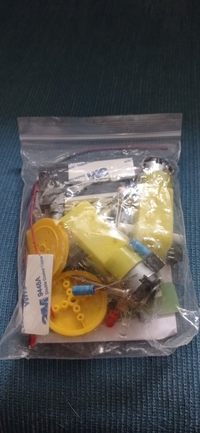
Good quality product, the packaging should only be safer, since everything came in a bag and some components were not antistatic bag.


Bon arrivé bientôt, assemblez et testez

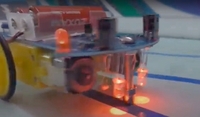
Посылка дошла в целости и сохранности. Сборка заняла около 2-х часов. Заработал сразу. Ездит по нарисованной трассе. (см. фото)


ótimo produto muito bom para pequenos projetos recomendo


Le est un kit très sympa pour les adolescents intéressés par la technologie. Il est facile à assembler, même sans beaucoup d'expérience en électronique. Ça marche garanti ! Tout ce que vous devez vous assurer est que les LDR et les LED sont correctement alignés. Nous avons fait un cours en collant du ruban isolant noir sur un plateau de table blanc. Il est agréable de voir comment la simple électronique est capable de faire la voiture suivre ce cap sans faille.
Very good product. Develops children's skills. Every child should have such a robot !! I recommend to all parents !! Good engineering. I buy a second one.


Viene bien embalado y protegido. La calidad es buena por este precio. Tiene todas sus piezas e instrucciones en chino. Hay un video en internet de como montarlo (en ingles). Lo he comprado para practicar soldaduras e iniciarme en este mundillo de la electronica.


Easy to brazes, easy to tune. Funny for children.


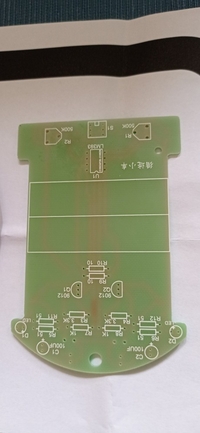
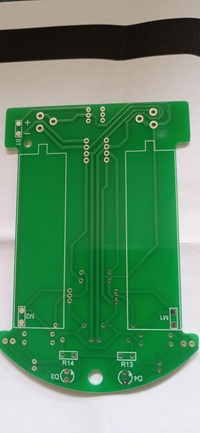
The project is fun (i did it with my son). He enjoyed sorting out the bits and managed the soldering of the more basic components. There are labels on the PCB for where things go but you have to know that LEDs and capacitors should only be installed one way around. The switch proceed difficult but after diagnosis with a multimeter we figured out which pub to bend out of the mix. There are no instructions (as stated) but you need to "balance" the motors with the screw potentiometers before it'll follow the line. All in all it was a fun project and kept us amused for a few hours figuring things out and getting it working. Oh you'll need four short lengths of wire (not included) to connect the batteries.